New Additions To My Light Painting The Still Life Video Course!
Nov 14, 2023

"Mallet and Nail" by Harold Ross
I have heard that people ask the question: "How does Harold Ross create depth in his photographs?"
It has nothing to do with the camera, but everything to do with the light! This is the core of why Painting with Light is so powerful and transformative.
By using light from a particular angle, distance, and motion, one can get the benefits of a small light source, and at the same time make it beautiful like a large light source! Also, keeping in mind that our subconscious gives us the impression that lighter things come forward and darker things recede, one can create a tremendous amount of depth, as in the image above.
I am very grateful for the wonderful feedback and suggestions I've received regarding my Light Painting the Still Life Video Course. It means a lot to me that some of you have taken the time to share how much you are enjoying the course and how excited you are about it!
Thank you all so much!
There is a lot of information below for current and prospective Foundation Course owners!
As promised, we have already added new content to my Foundation Course. Additionally, we have updated certain videos!
• We have added a PDF as a guide for Lightroom users; although I strongly recommend Capture One, I understand that some people are very comfortable with Lightroom, and this PDF points out the things you need to know to use it as your tethering software! (See the FAQ area).
• Years ago, while beginning the work on my Video Course, I created what I called an "Image Kit”. It consisted of practice files provided to students who, for whatever reason, couldn’t shoot right away but wanted to try their hand at the editing process.
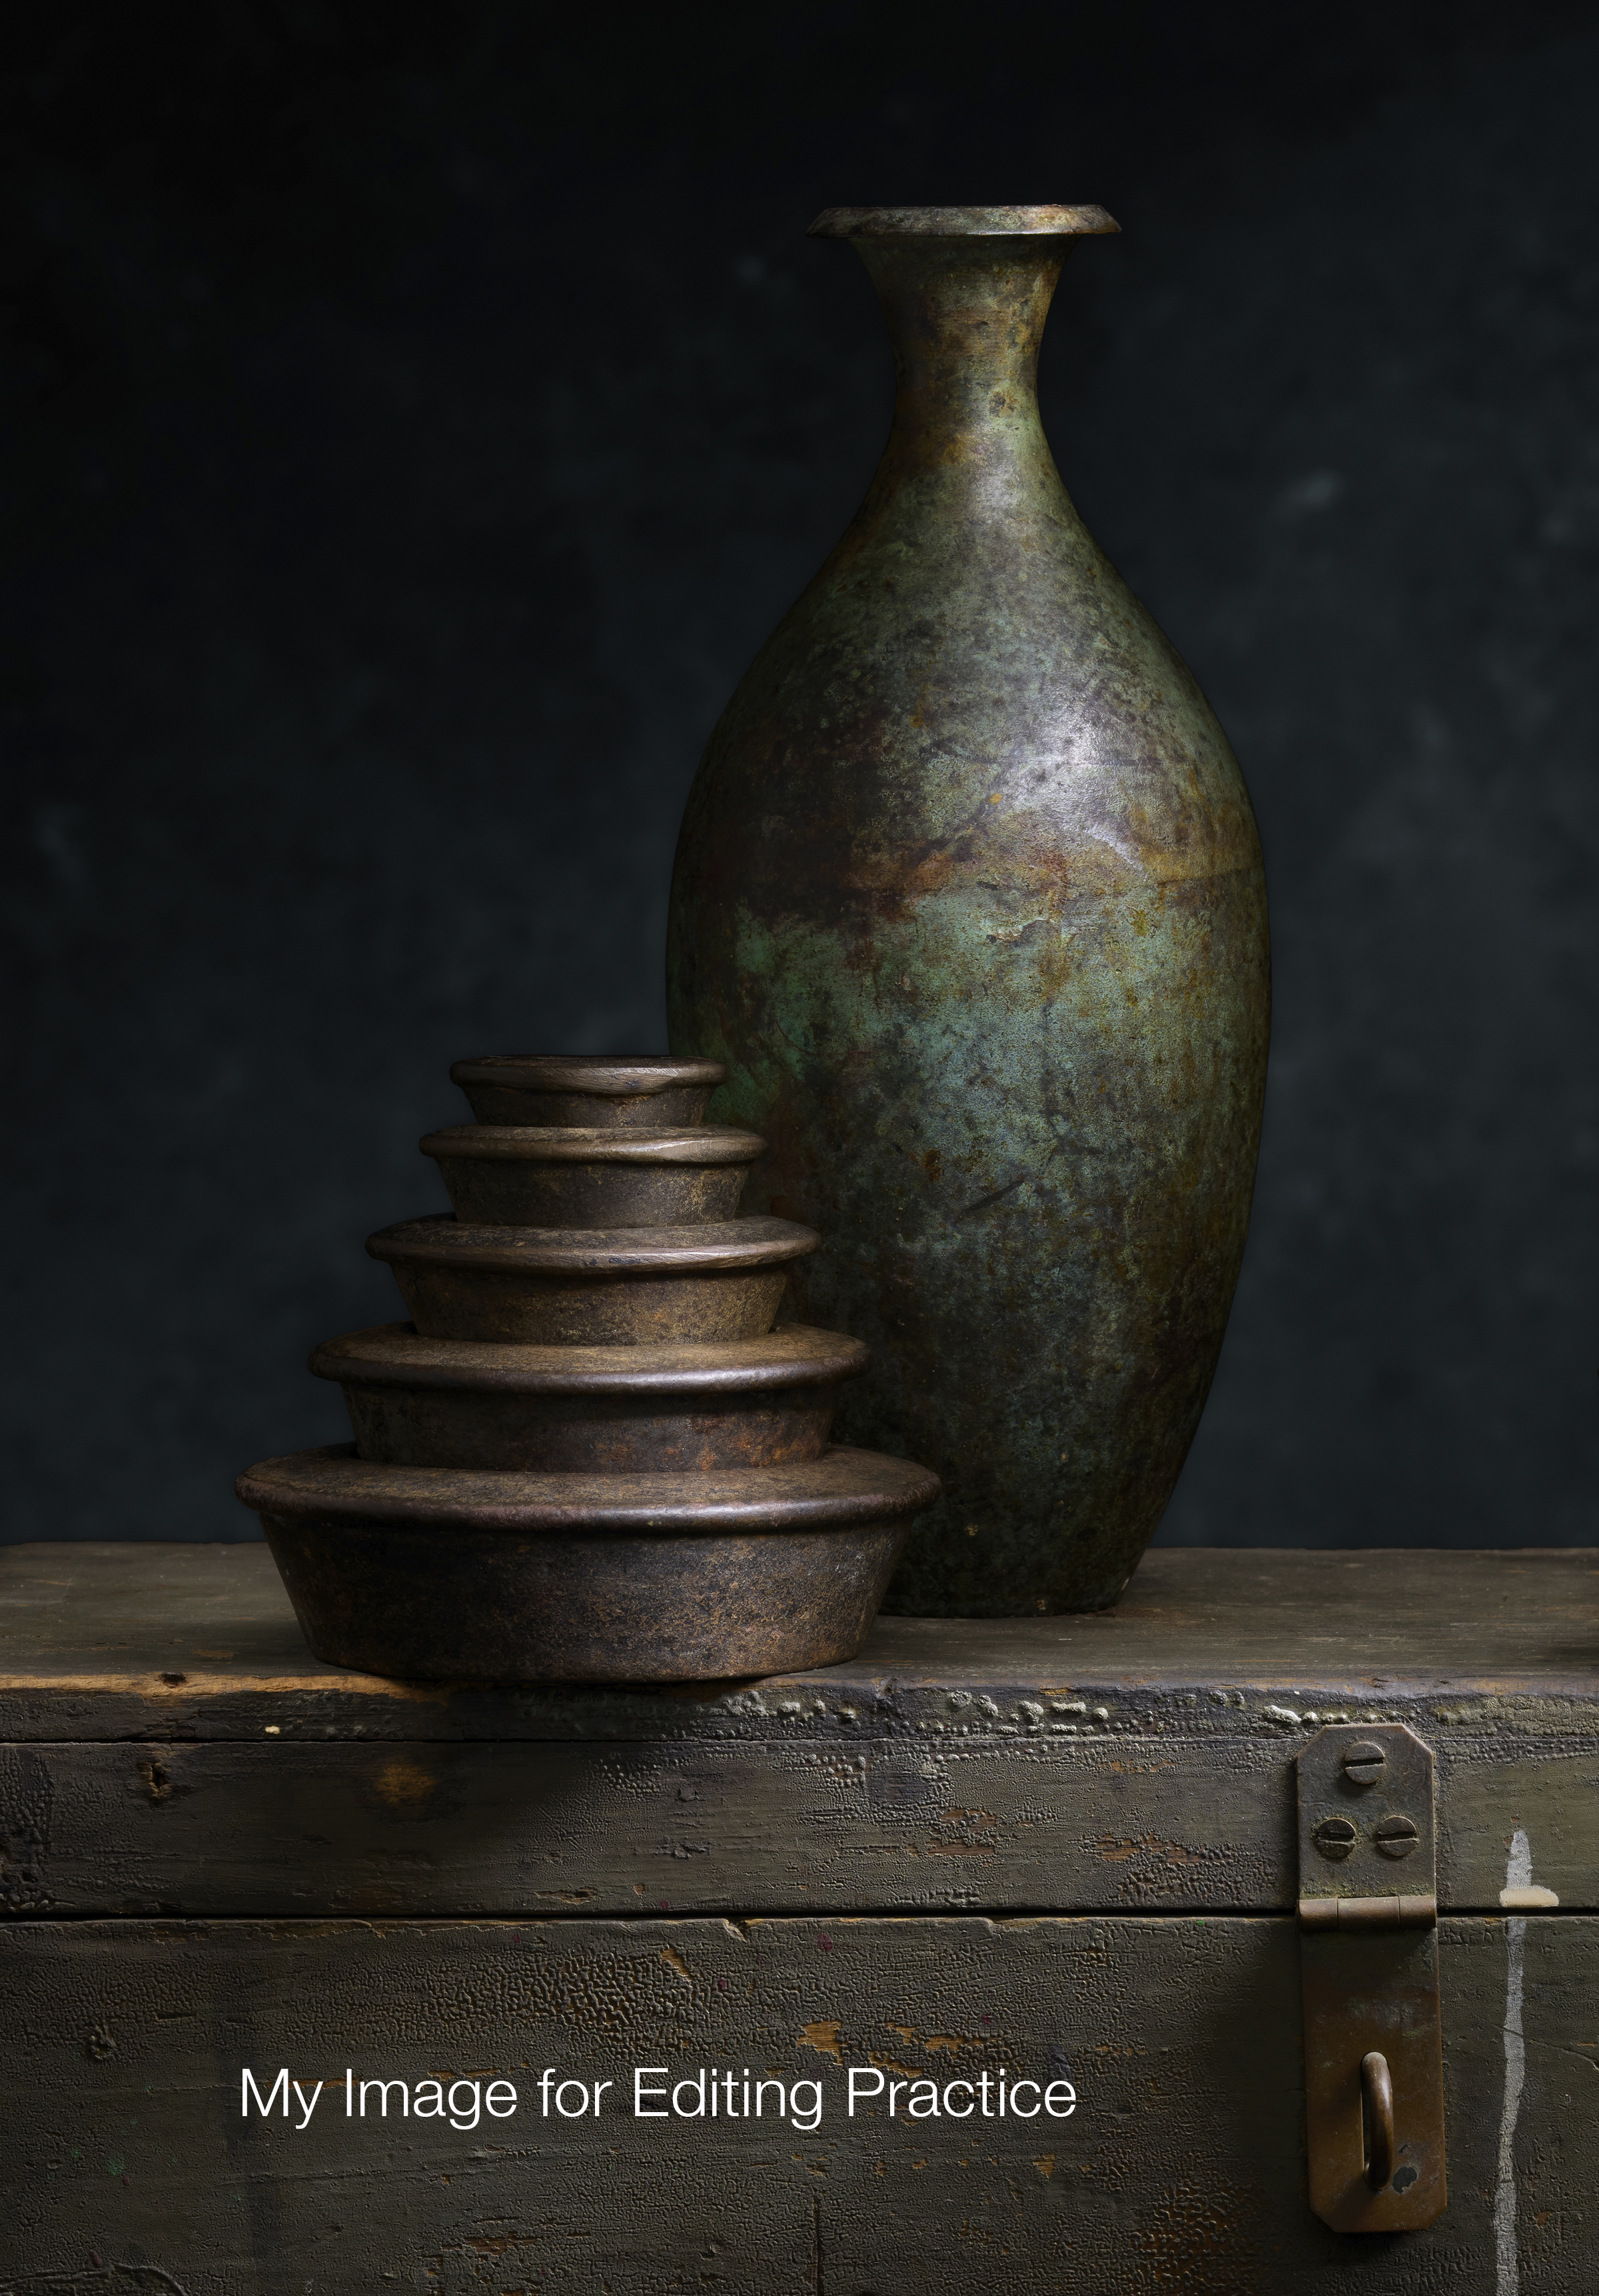
I’ve decided to include a similar module in this course. The image is a particular area of the main image featured in the training videos. It consists of my original captures (exported as Photoshop files), ready to be taken through the entire editing process. You can follow along with the editing videos, working on the same image!
• We have also added “Timestamps” to the longer videos; this is to help you navigate to the point in the video in which you are interested! The Timestamps are located in the “lesson” windows below the videos.
• We have also updated our FAQ area to include a lot more information (including information on using Lightroom instead of Capture One (as above), a video guide for Using Unsupported Cameras (in Capture One), and much more!).
• I have also updated the Equipment List with new items, and I've included a note at the top of the PDF regarding VPNs. It came to our attention that if you have a VPN in place, and you live outside the USA, it may cause some links to become inoperative.
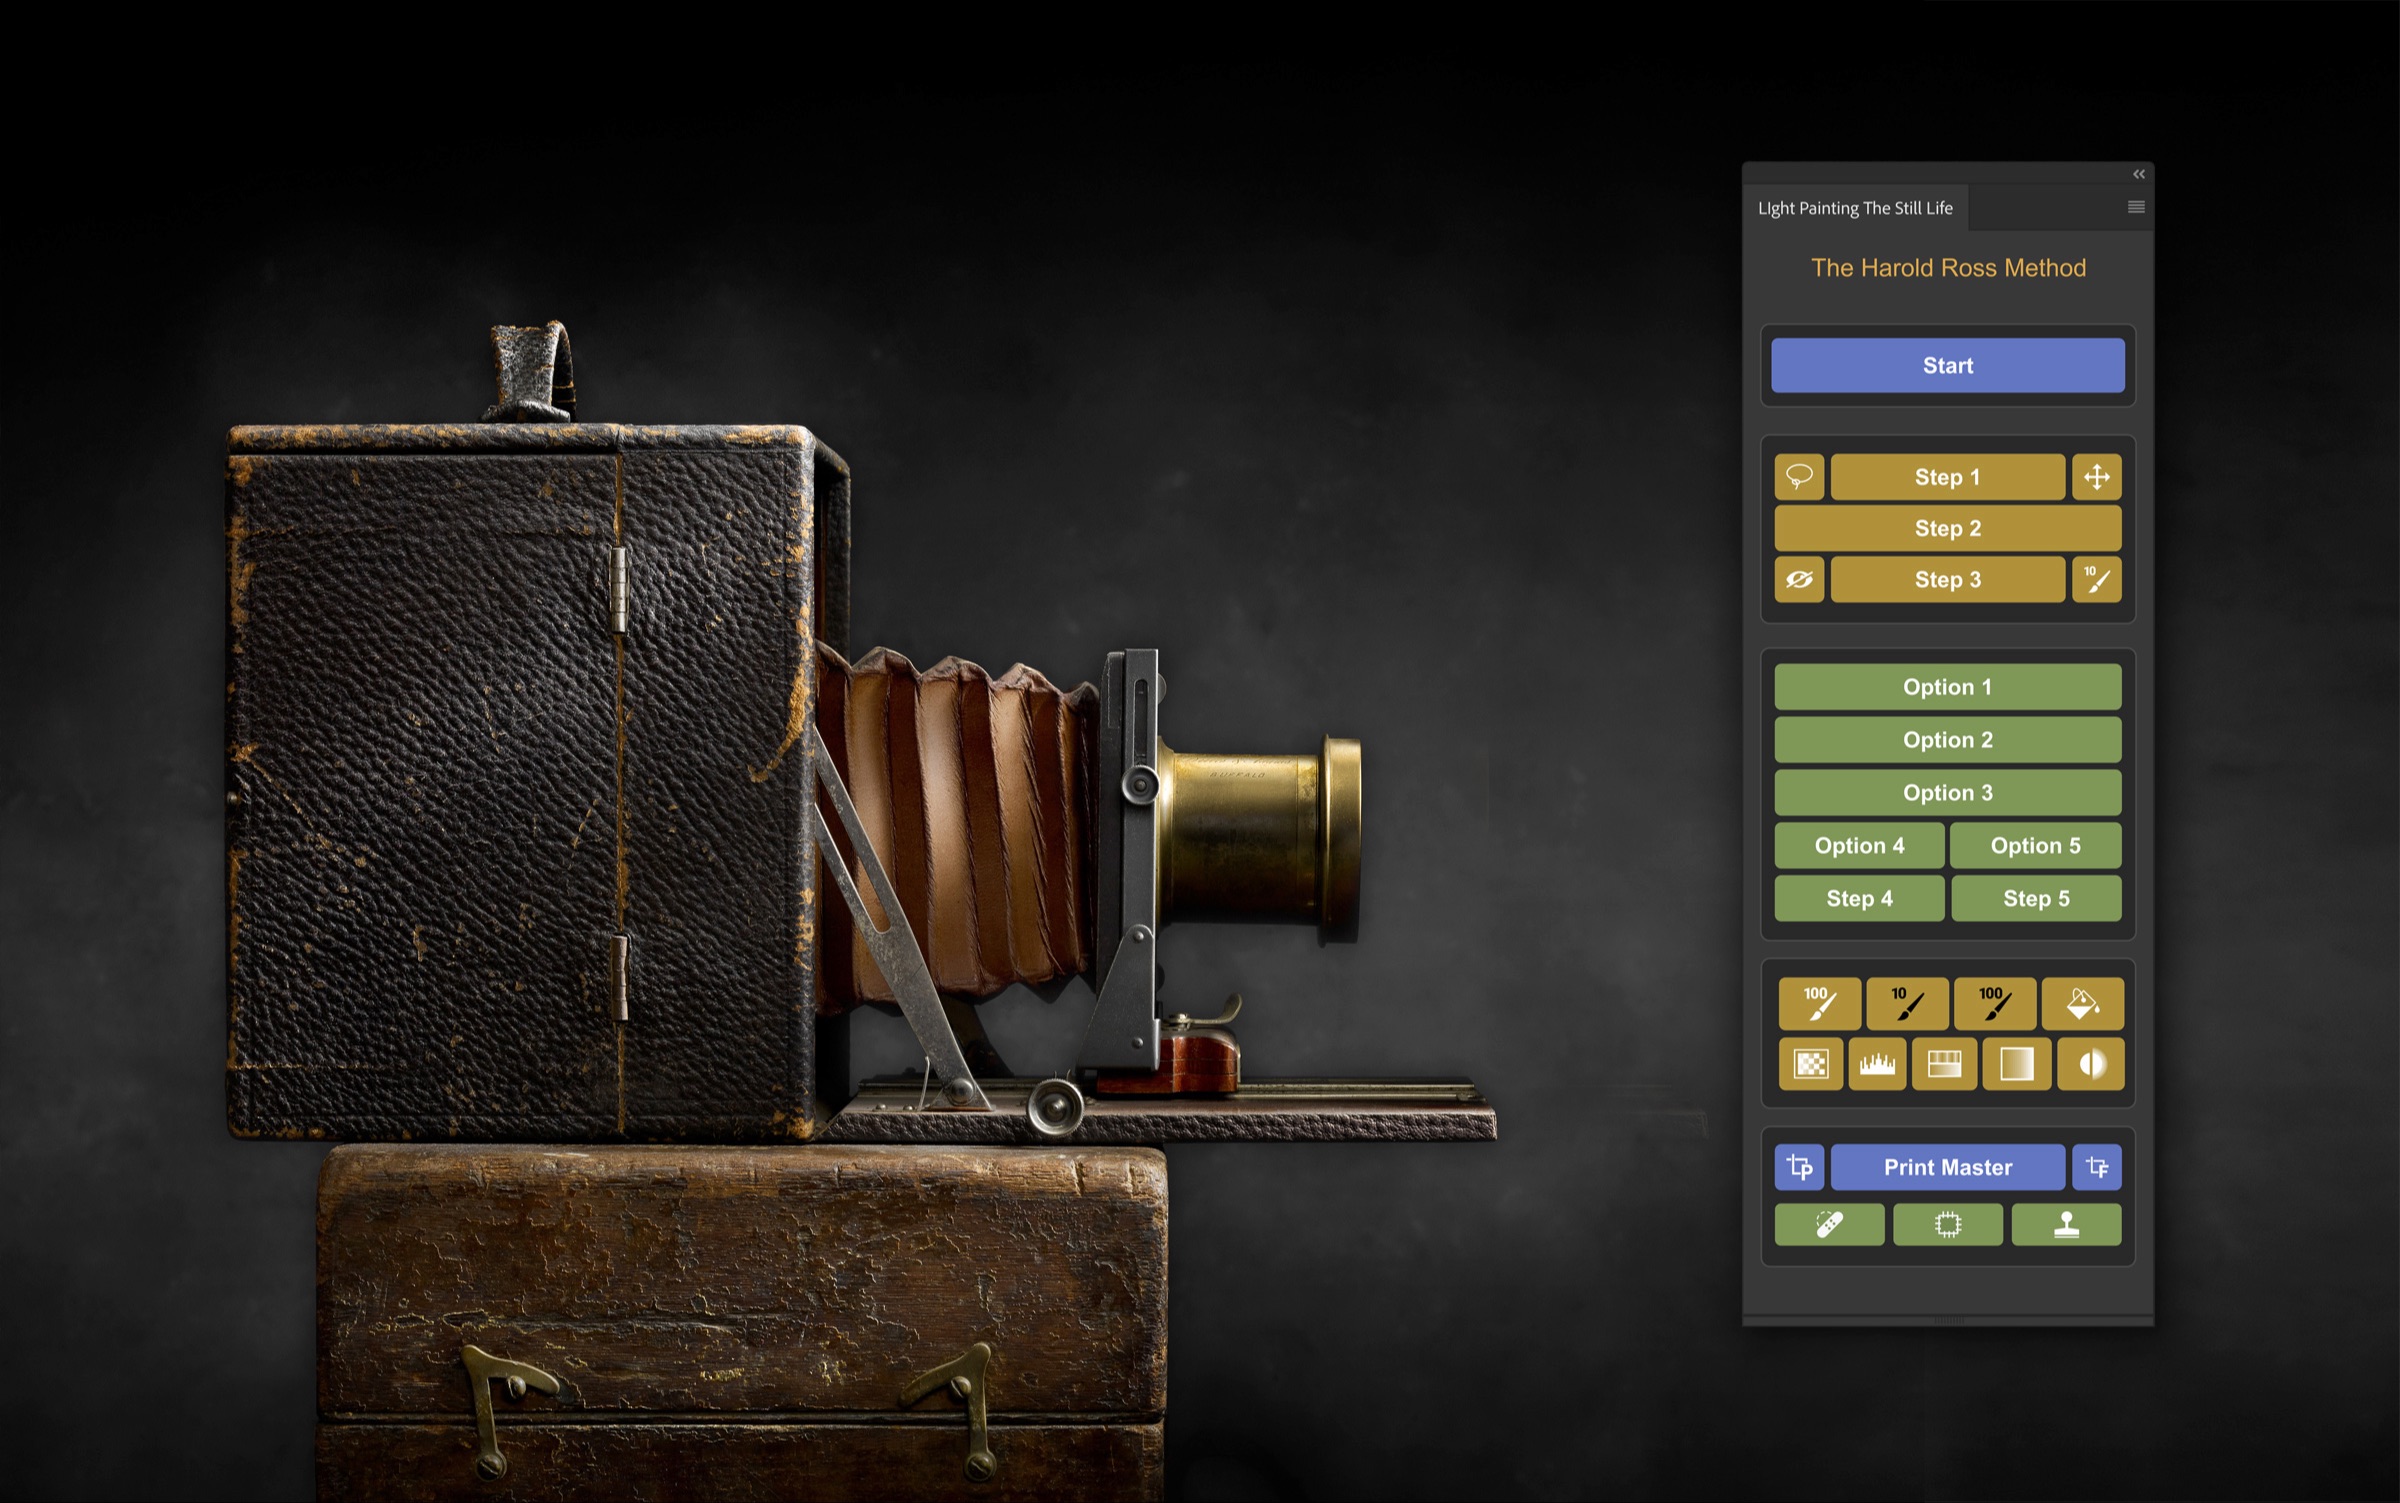
• And most exciting, I’ve also updated my Photoshop PlugIn Panel!

My panel is an integral part of my editing process and Version 2.0 has been completely rewritten from the ground up, so it offers improved speed enhancements and functionality.
The Panel layout is designed in chronological order, which helps the user navigate through the simplified and codified editing process. The use of this panel has significantly improved the editing proficiency of my students in the light painting still life process that I teach.
The Panel now offers you updates automatically, but if you want to check manually, go to the “hamburger” menu on the upper right and pull down to “Check for Updates”. The current version is V2.02.

You can use my Photoshop PlugIn Panel and the additional resources that I mentioned above for FREE (for personal use) for students of my Foundation Course.
Thanks again, and always remember... Skim the Light! - Harold
www.lightpaintingworkshops.com